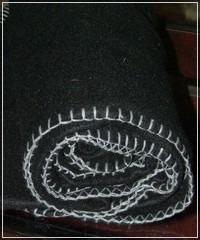
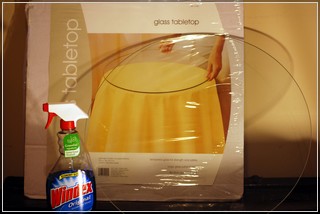
| It was a cold, rainy, overcast day here in Georgia so I decided to tackle a tutorial from over at the Strobist blog on making a DIY light box. You can view the Strobist tutorial here. Unfortunately, I didn't have a box I could use nor any tissue paper so I had to improvise with some things I did have laying around the house. Here is the list of materials that I used: |
|
|
|
|
|
|
 |
|
 |
|
 |
|
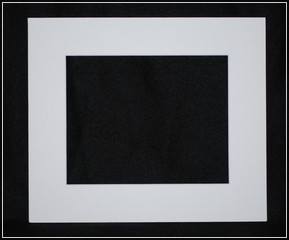
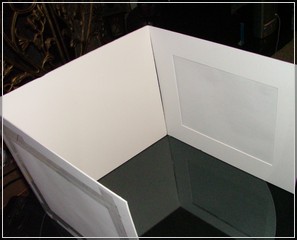
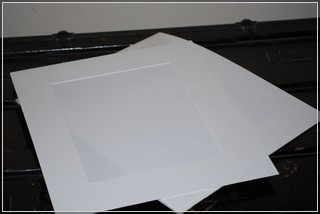
Assembling the “Box” |
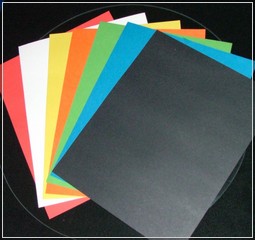
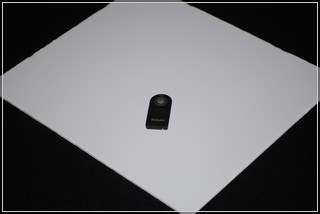
Step 1: Tape an 8 1/2 x 11 piece of printer paper to each of the three frame mats. Step 2: Tape two of the paper covered frame mats to the piece of mat board. Step 3: Place the black fleece blanket on the surface you'll be using. (I used an end table). Then place the glass on top of the blanket. Step 4: Set up your "box" on top of the glass. You can choose a piece of poster board for the backdrop by either placing it in the box and securing it with a small piece of tape or for a reflection, standing the poster board inside the "box" up against the back wall. After placing the third paper covered frame on the top, the standing poster board will stay in place. Step 5: Place your light source on each side of your "box". Step 6: Choose your subject and place it in the box. Step 7: Start shooting! |
 |  |  |
 |  |
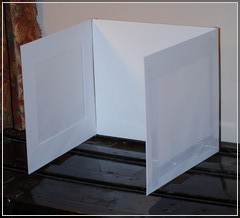
| By taping the frame mat and mat board together, I'm able to fold the “box” flat for easy storage. Once you have everything set-up, you can start experimenting with different color backgrounds and object and light placement. This was so simple that my 10 y/o got in on the action! |
 | 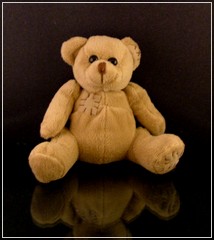 |
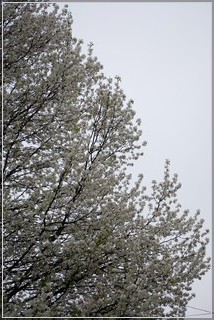
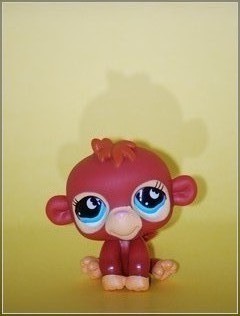
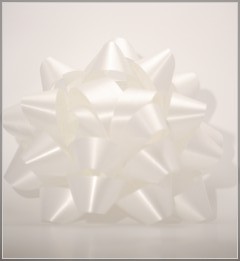
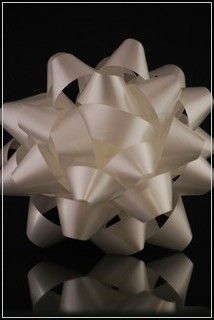
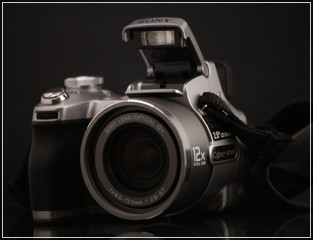
These two pictures were taken by my 10 y/o with her Fuji Finepix S5000 (in the image I took below). |
|
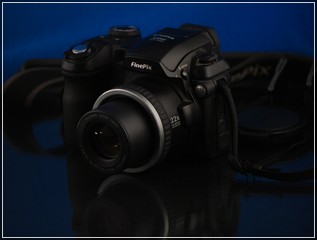
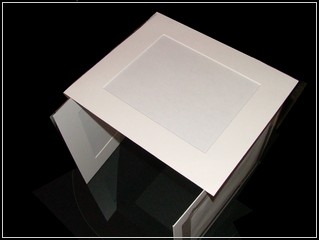
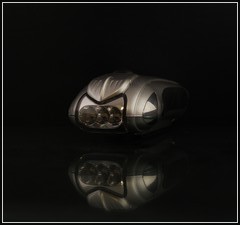
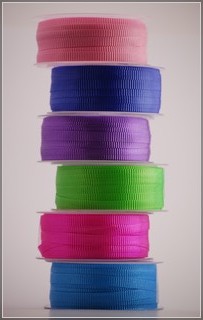
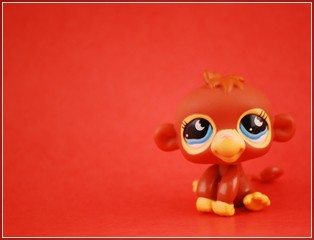
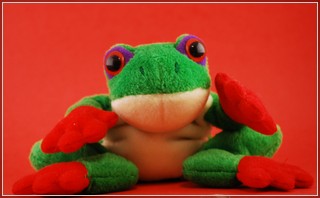
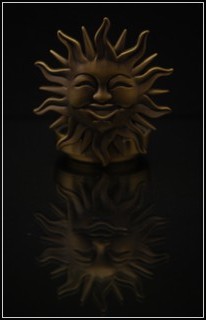
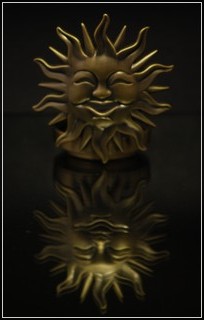
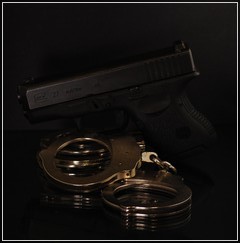
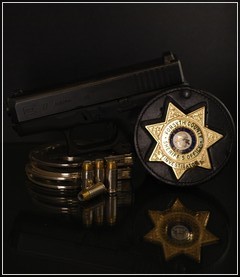
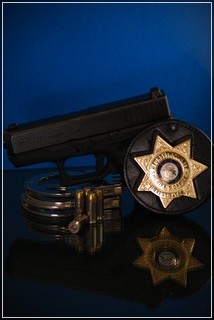
| Here are some of my results. Some need a little tweaking but I'm satisfied enough with the results for my first try. I’m not sure what has happened with the images with the red background. They are sharp and crisp on my monitor but after uploading them to the server, they’ve become a little distorted with a lot of noise. |
|
|
|
|
|
|
|
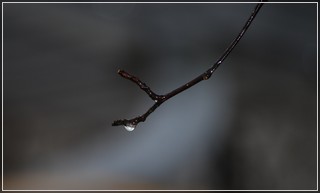
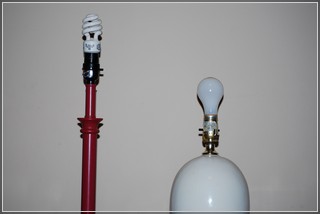
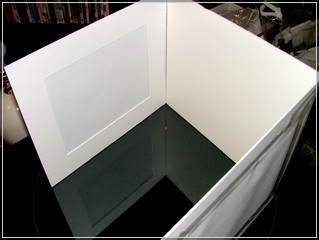
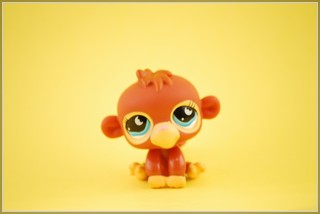
By moving the light around, you will achieve different effects. |

 |  |
 |  |
|
|
|
|
| I’ve always been a point-n-shoot kinda gal until recently. I’ve just started learning about manual focus and I realize I have a lot more to learn. But this is a start and we had a lot of fun together trying something new. |


No comments:
Post a Comment